
Want to wax your bike chain with hot-wax? Start with a completely clean and dry chain, not with the wax itself. After that, the routine is simple: melt the wax, immerse the chain, let it cool and reinstall it.
Hot-waxing is ideal for riders who want a clean, dry drivetrain. This guide helps you through your first treatment, whether you ride road, gravel or MTB.
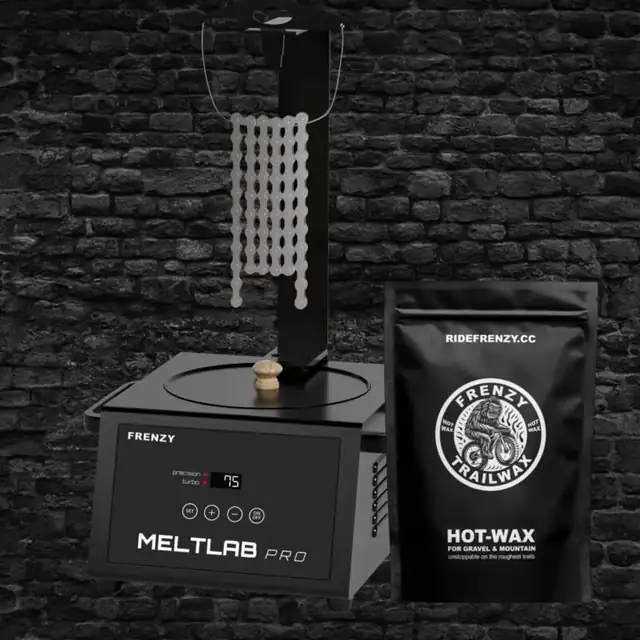
Choose the MELTLAB Pro Starterkit: professional heater + FRENZY TrailWax, ready for your first consistent wax routine.
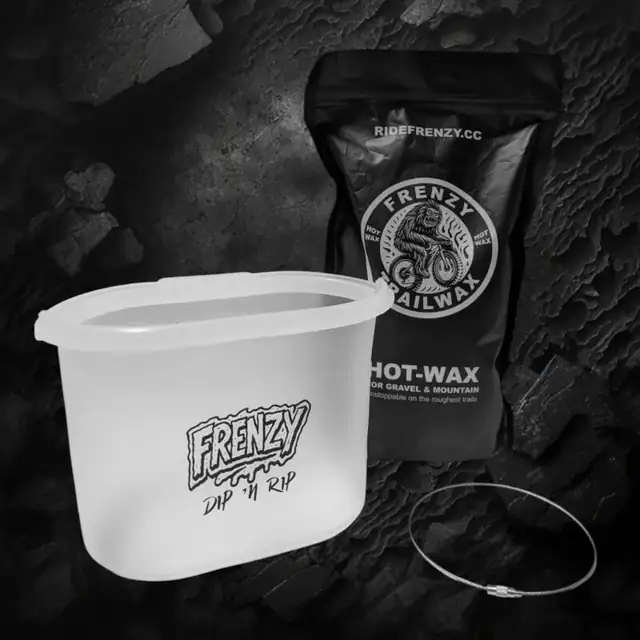
Choose the DIP ’n RIP Hot-Wax Travel Kit: compact, sealable and made for waxing outside your workshop too.
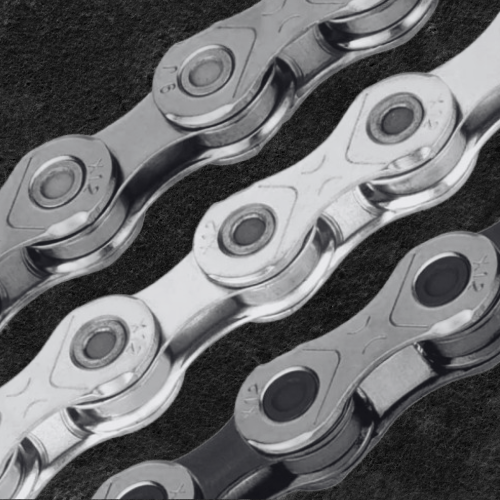
Professionally degreased and ready for hot-wax. Choose a Shimano or SRAM chain and start faster with a clean waxed drivetrain.
For a first hot-wax treatment you need:
Only use your existing chain if it can be made completely free of oil and grease. Even a new
chain often has a protective factory coating that must be removed first. Unsure about the preparation?
A Ready2Wax chain is a practical way to start with a prepared chain.
STEP 1
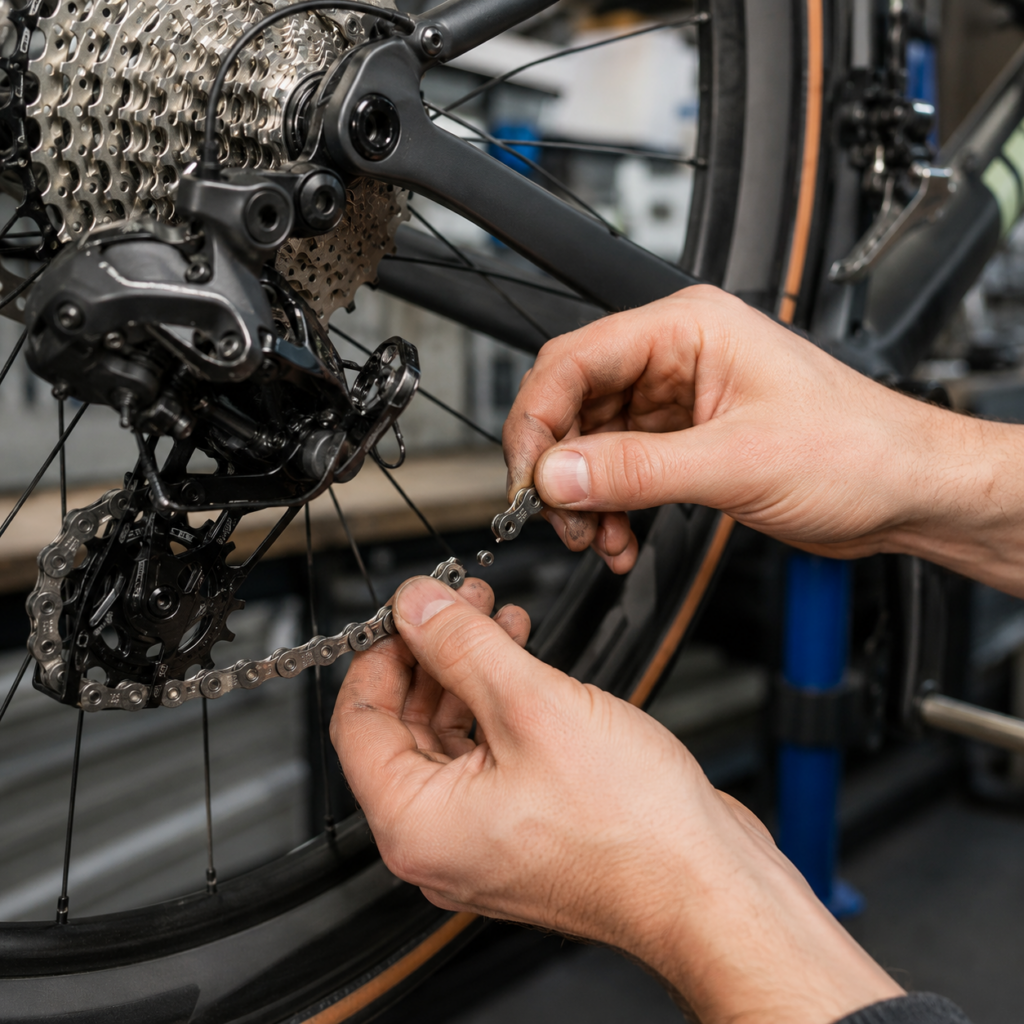
remove the chain from the bike
Place your bike securely and remove the chain according to the manufacturer’s instructions. Only reuse the quick link if the manufacturer allows it. Take the time to remove dirt and old oil from the chainrings, cassette and derailleur pulleys. This prevents you from putting a clean, waxed chain back onto a dirty drivetrain.
STEP 2
fully degrease the chain
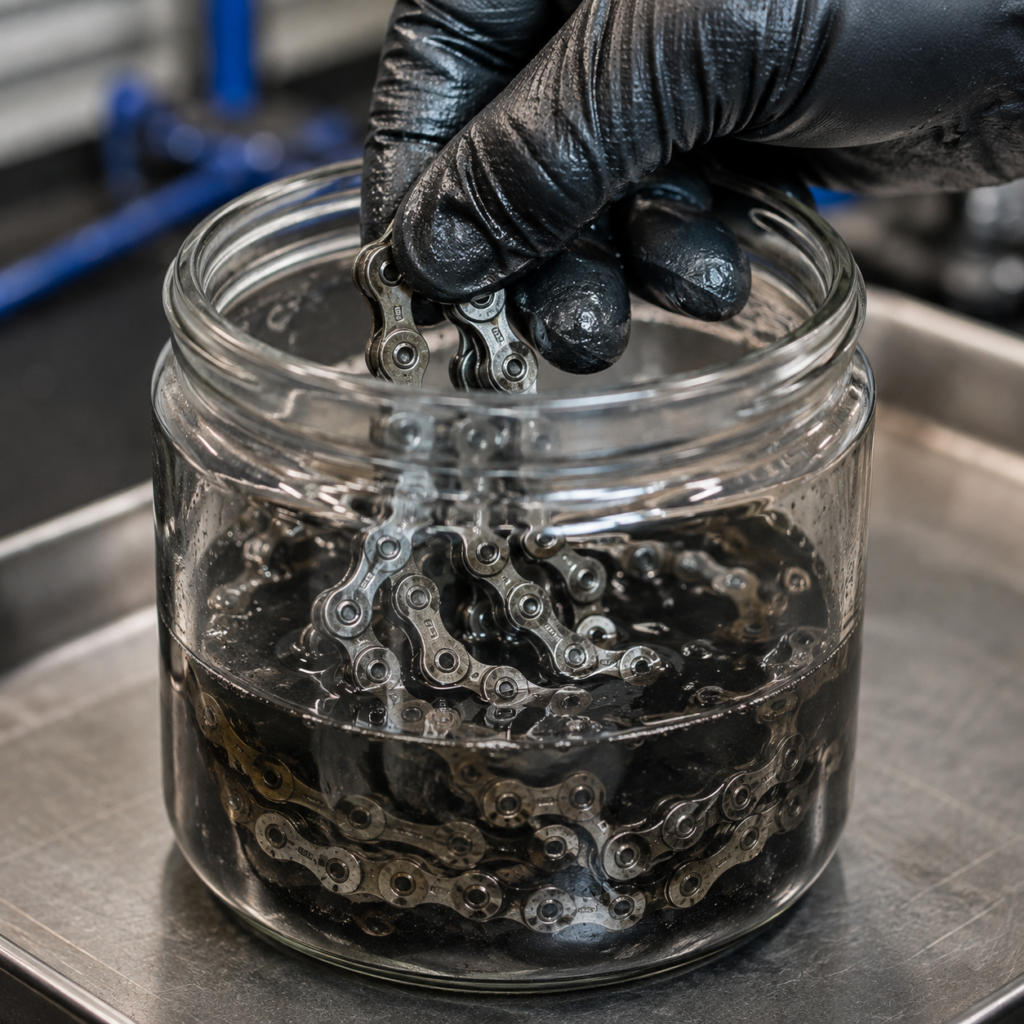
This is the most important step when switching from oil to hot-wax for the first time. Wax does not bond well to oil or grease residue.
Degrease the chain with a suitable product and always follow the safety and usage instructions on the packaging. Repeat the cleaning if needed until no visible oil or dirt residue comes off. After cleaning, touch the chain as little as possible with greasy hands or cloths.
STEP 3
let the chain dry completely
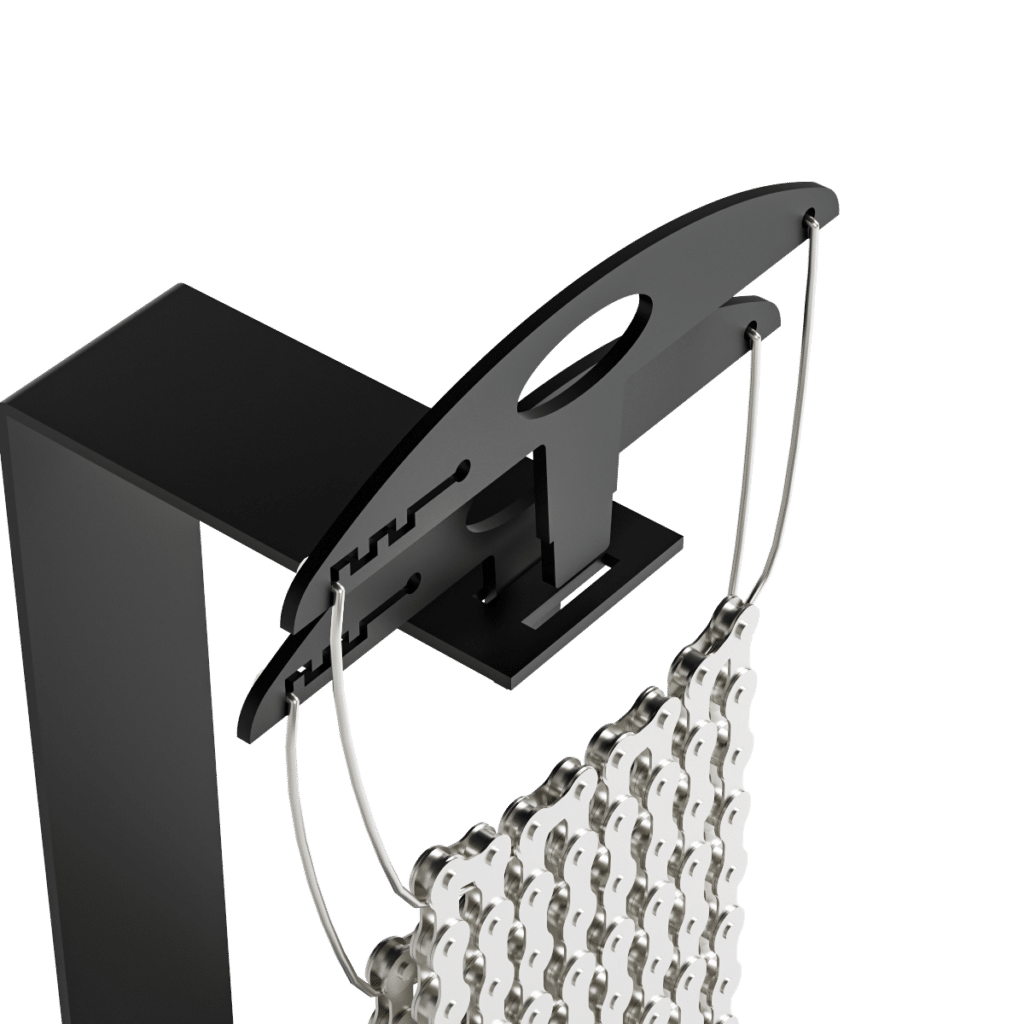
Let the chain dry before waxing. The chain must be clean and dry when it goes into the hot-wax
A careful preparation takes a little more time the first time. After that, re-waxing usually becomes easier: you are working with a chain that is already in a wax routine.
STEP 4
choose the hot-wax setup that fits you
fixed setup for home use
Want to wax regularly at home? Then MELTLAB Pro together with FRENZY TrailWax is the fixed setup. MELTLAB Pro is made for hot-waxing bike chains and has a Precision Mode of 75 °C. For the exact process, always follow the product instructions for MELTLAB Pro and TrailWax.
compact setup for travel
Want a more compact solution for home, travel or training camp? With the DIP ’n RIP Travel Kit you use TrailWax in a compact melter that works with hot water. You do not need an electric wax melter for this.
STEP 5
melt the wax and immerse the chain
Melt FRENZY TrailWax in your chosen setup according to the product instructions. Once the wax is ready, immerse the
clean and dry chain completely.
Move the chain calmly through the liquid wax so the wax reaches every link. Use a suitable hanger
or tool to lift the chain out of the wax in a controlled way. Work calmly and be careful: melted wax is hot.
STEP 6
let it drip, cool down and free the links
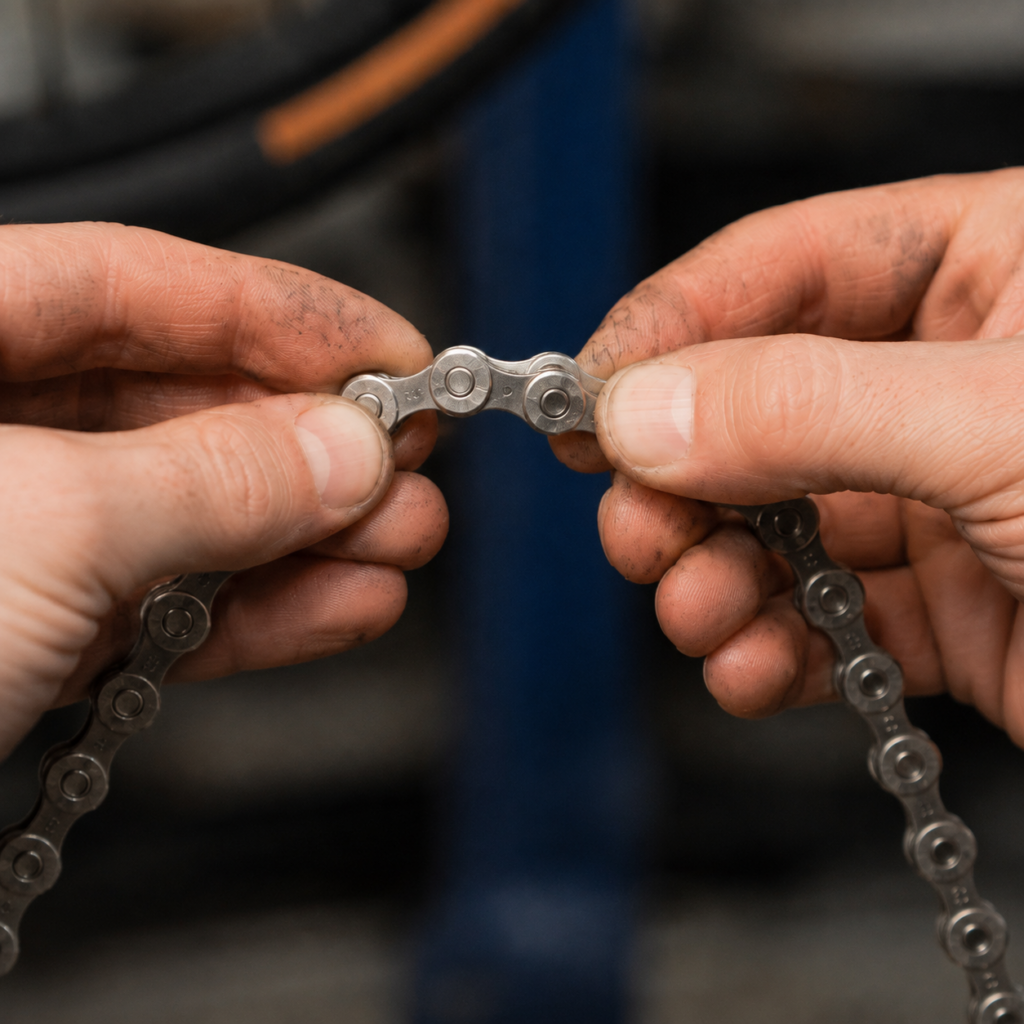
Let excess wax drip back into the melter and then hang the chain until it has cooled down. Then check that every link can move freely. Gently free any stiff links before reinstalling the chain.
Install the chain according to the chain manufacturer’s instructions. Then check that everything runs correctly before you ride.
Yes. For the first hot-wax treatment, the chain must be completely clean, degreased and dry. Oil and grease residue interfere with the wax treatment.
Yes. FRENZY TrailWax is made for bike chains on road bikes, gravel bikes and MTB. Always check that your chain is installed correctly and follow the chain manufacturer’s instructions.
Not necessarily. For a fixed home setup you can use MELTLAB Pro. If you want to wax compactly without an electric melter, DIP ’n RIP is the solution.
Use the chain’s behaviour as a signal: if it feels or sounds drier, or if it is no longer in good condition after a wet or dirty ride, it is time to repeat the maintenance routine.
No. With hot-wax, you remove the chain from the bike and immerse it in melted wax. Liquid wax and chain oil are applied to a mounted chain. The best routine depends on how you ride and how much maintenance you want to do yourself.
Choose the MELTLAB Pro Starterkit: professional heater + FRENZY TrailWax, ready for your first consistent wax routine.
Choose the DIP ’n RIP Hot-Wax Travel Kit: compact, sealable and made for waxing outside your workshop too.
Professionally degreased and ready for hot-wax. Choose a Shimano or SRAM chain and start faster with a clean waxed drivetrain.